Quickfire Skills
- siennamason5
- Feb 16, 2024
- 4 min read
Updated: May 23, 2024
Date: 8 Jan- 29 Jan
Week 1 - Drafting
In a pair, I started the drafting task by surveying the arboretum café- gaining the basic measurements using a tape measurer. I also took images of each side of the building to estimate the heights using the size of bricks.

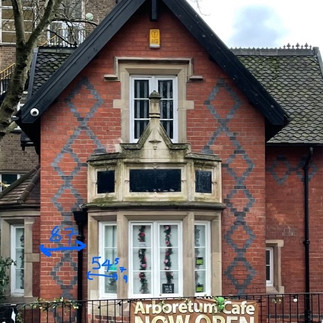


When I first began surveying, I was measuring small details on the windows but later realised I needed to focus just on the overall measurement. I thus later went back to the arboretum, remeasured important measurements and added together measurements to ensure they were correct.
Notes taken from the survey

During and after surveying, I also noted down the measurements/ rough elevations I'd need for the tech drawing. This helped me visualise how my technical drawing would look, while also helping me see what measurements I still needed to gain to create the drawing.
The final drawing

Initially, I found the process of creating the technical drawing quite daunting. I hadn't hand-drawn since my final 1st year project so I wasn't sure how confident I was in my skills for it. However, after completing my floor plan and first elevation I found the rest of the drawing a lot easier to complete and I was much happier with my skills by the end. It also taught me which measurements were necessary to include- for example not including the widths on my elevations.
A major hurdle I had with this drawing was the layout. I didn't plan correctly how much space I'd need for everything and as a result, I had to create the roof plan separately and photoshop this on after. I'm happy I was able to Photoshop it on after though, it gave me a chance to also sharpen my lines, straighten my drawing out, remove smudges and add hatching to the windows which I had forgotten to do.
Week 2- The model
After being able to complete my technical drawing in just a week, I felt a lot more confident when it came to creating the model. I created it by printing out multiple scans of the technical drawing and cutting out each part on the mount board. Extra pieces such as the roofs and bay windows were measured and cut out separately once the rest of the model was created. I found the roofs to be the biggest challenge- establishing the correct measurements and angle was hard however through a few attempts and trial and error I was able to get it right.
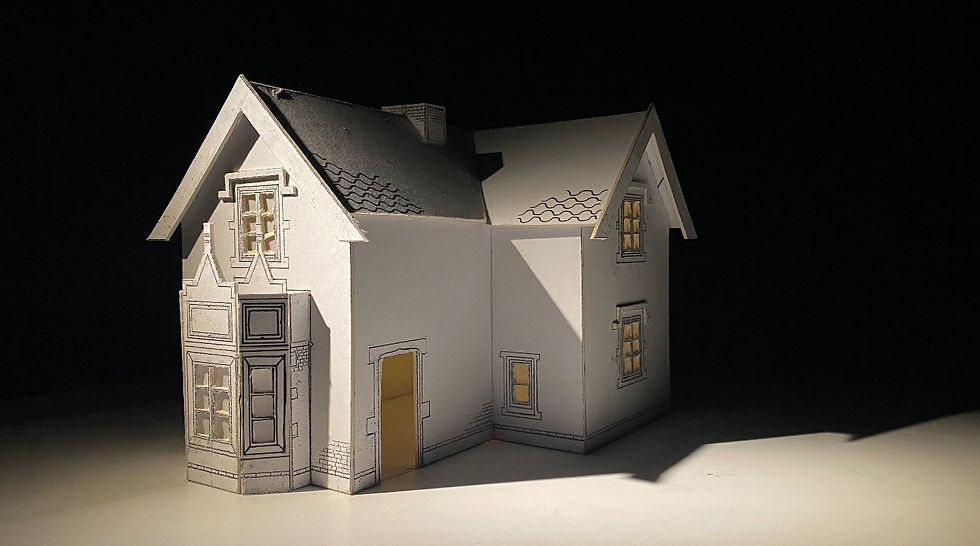
Different angles:

For my photos, I decided to use the photography studio and experiment with different spotlights. This is something I plan to do in the future- it made my model images look more professional and improved the quality.
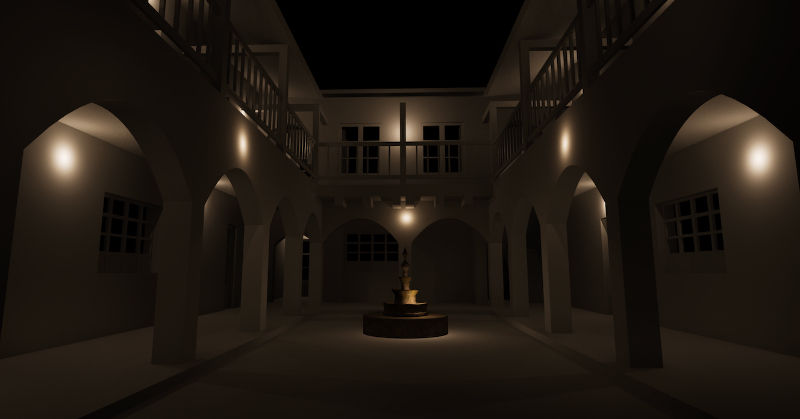
Week 3- The Visual
The idea behind my visual was to show the bombing just as it hit the arboretum. This meant I conducted a lot of my research on videos of bombings going off- one being a WW2 bombing from Miss Miss Peregrines Home for Peculiar Children (2016) which showed me that I needed to include black smoke, fire and flying debris. I also was interested in giving my visual more depth by having something closer to the camera- I decided to be a WW2 soldier running from the bombing.


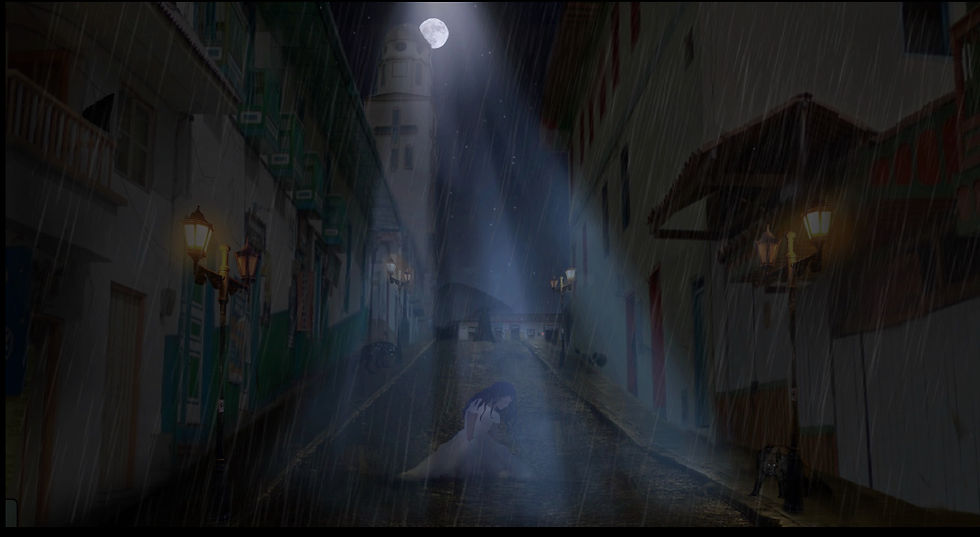
Thumbnails

To start my visual, I made 3 different thumbnails taking inspiration from my research into both camera shots and bombings. I found this gave me a good reference for lighting and composition when creating my final visual and it has motivated me to create thumbnails in the future.

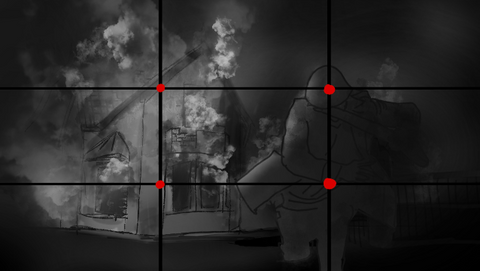


I decided to choose the first thumbnail, which I then took a photo of the arboretum in a similar perspective to use for the visual. I found the thumbnail showed the most drama, and I liked how it showed an action scene taking place.
The Final Visual
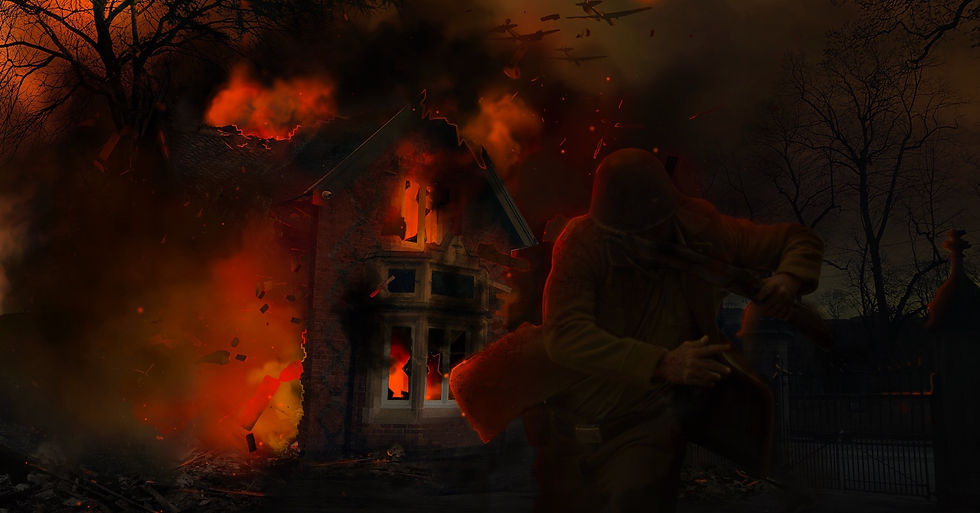
For this visual, I decided to try something new and attempt digital matte painting using Photoshop. This is something I haven’t done before but have wanted to learn so I decided to try it as part of this project. Initially, I found creating the visual a challenge, especially with understanding lighting, destroying the building and navigating the Photoshop controls, but I found that towards the end of the process, I had a much better grasp on what I needed to do than I had in the beginning. Photo bashing gave me more time to create an atmosphere with fire and smoke, and in the past, I’ve not given myself the time to focus on creating an atmosphere so I liked this aspect of the technique a lot. So, while I think I have a lot to improve on with my Photoshop skills, especially with lighting for example, I’m pleased with what I managed to create as a first attempt and I'm eager to learn more about it to improve my visuals in the future.
Overall reflection
In terms of verbal feedback from my tutors, it all round felt positive and constructive.
There are a few things in my visual I now plan to edit for my portfolio- such as:
the size + and height of the planes
the soldier's helmet or potentially using a home guard instead
Adding more flying debris towards the camera
Adding more broken brick details on the side of the building.
For my model I was advised to also cut out the whole of the window, and print the frames on acetate to save time- so I plan to do this in my future models when necessary.
For my technical drawing, I was also told to make my lines slightly bolder around the overall elevations- which is something I plan to do for the portfolio and in my future technical drawings!
Overall I am pleased with what I was able to achieve in this project. it taught me a lot about how to work in a fast-paced environment and gave me the confidence to do so. While it was stressful, I think the pace has helped develop my skills in all 3 areas- drafting, model making and visuals. I enjoyed being able to dedicate a week to each skill, I could put my full attention into it which helped me focus on figuring out where my strengths and weaknesses are.
Comments